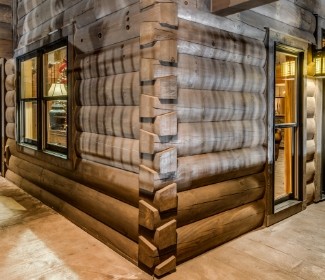
Dovetailed d-log corner sealed.
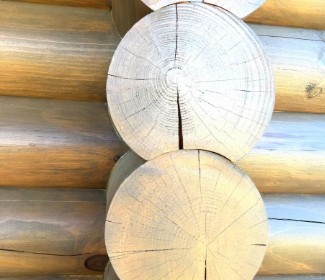
10″ round log before sealing.
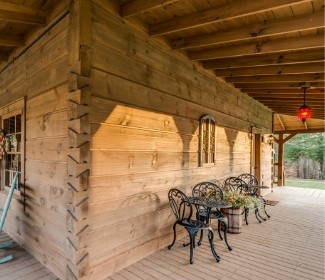
Square log sealed.
Why seal the ends of the longs?
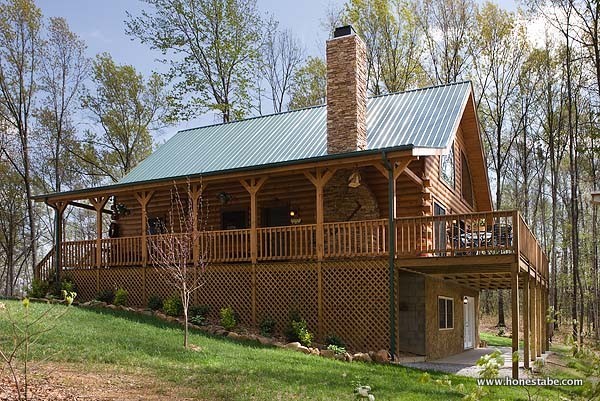
Wood is a hygroscopic material, which means it naturally absorbs and releases moisture from the environment. Logs can safely absorb large quantities of water before reaching moisture content levels that will be inviting for decay fungi. Some of the most vulnerable areas of a log home are the corner log ends. This is because the cross section end grain is exposed and the ends often stick out beyond the walls allowing sunlight, wind, rain, snow and ice to wear away the stain and expose bare wood. The exposed end grain acts like small straws sucking water into the log, giving rot and decay an opportunity to start eating away the wood.
In addition, wood cracks and checks are prone to start at the ends. If left unprotected long enough, log or log corner replacement may eventually be required. Being aware of the susceptibility of log ends to weathering, rot and decay, we developed Log End Seal, a clear polymer finish that prevents water from penetrating into log ends and provides a layer of protection against log end damage. Although it is a sealer, Log End Seal is designed to allow moisture already in the wood to slowly escape. This helps reduce those large checks that often form on log ends.
The first step when applying Log End Seal is to sand the log ends smooth with a belt or orbital sander or sanding disks. Take care not to leave any deep sanding marks or gouges. Most log homes arrive with the log ends sawn off to the proper length. The sawing may leave a rough surface and when stained the log ends typically end up being much darker than the smooth sides. A log end that has been sanded smooth and then stained will be much closer in color to the log walls.
Applying Log End Seal
Once the log ends are sanded and one of our LIFELINE brand stains applied to the home and allowed to dry, you are ready to put Log End Seal on the exposed ends. Although you can use a short bristled brush to apply Log End Seal we found that a pad applicator works best. Be sure to coat the entire face of each log end avoiding any uncoated spots. Wipe off any excess that may have dripped onto the sides of the logs with a damp rag. Allow the Log End Seal to dry to the touch and finish the job with one of our Advance clear topcoats over the entire home.
Drying and Curing
Although once it cures Log End Seal is clear, it may take a while before it loses its milky appearance, especially in checks and fissures. But the end result will be an appealing, clear sealed surface that will offer the utmost protection to the ends of your logs. To read about application steps click here: https://www.permachink.com/images/stories/tech-tips/Log%20End%20Seal-14.pdf Did you know that Log End Seal is a product unique to Perma-Chink Systems?
Article by Perma-Chink Systems


